
Hi everyone,
Today I'm going to show you how to create laser tape nails.
You can see the original post here.

Here are the polishes I used:

Here are the tools I used:

Now, on to the tutorial:

Paint your nails with a base coat and then add your chosen base colour.
Wait for it to completely dry.

Next, cut four pieces of striping tape and carefully place them on your nails in random directions.
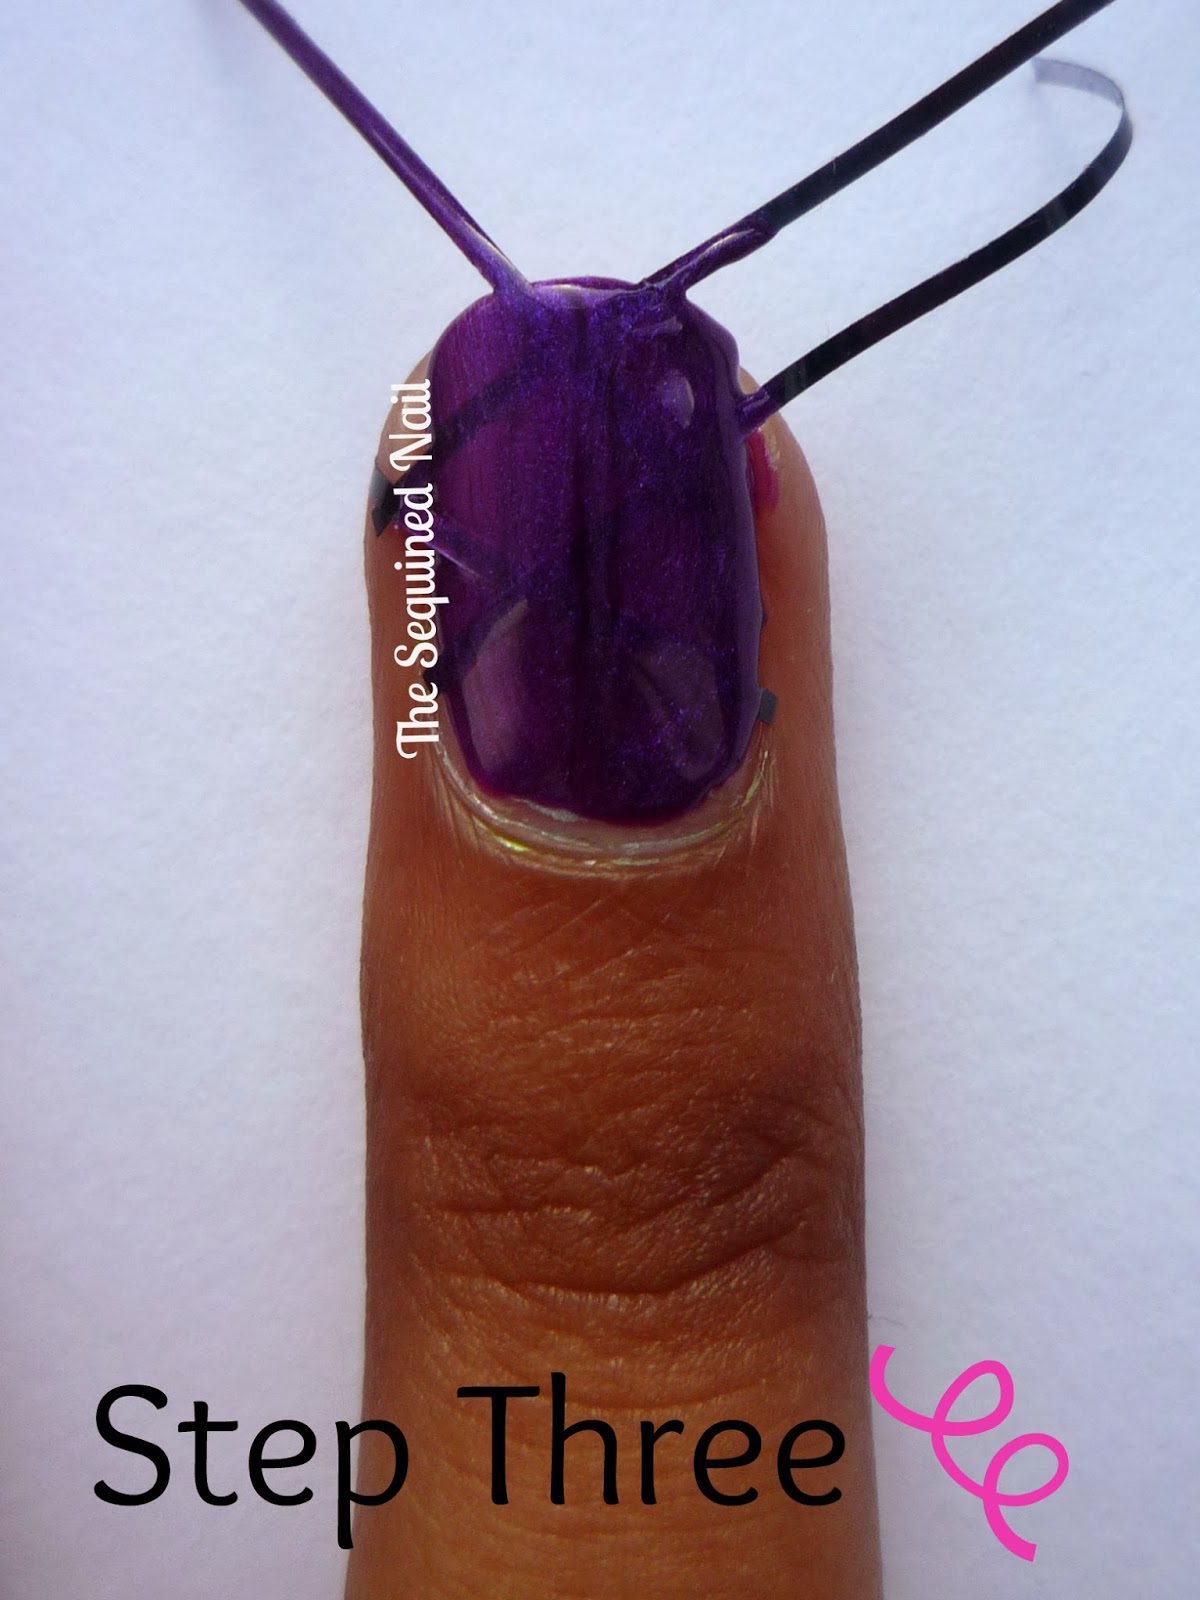
Paint your nails again, but this time using your second colour.

Wait for about 1 minute and then use your tweezers to carefully take off your striping tape.
Don't forget to remember which order your stuck them down in!

Use your tweezers to take off all of the striping tape to reveal your base colour underneath.
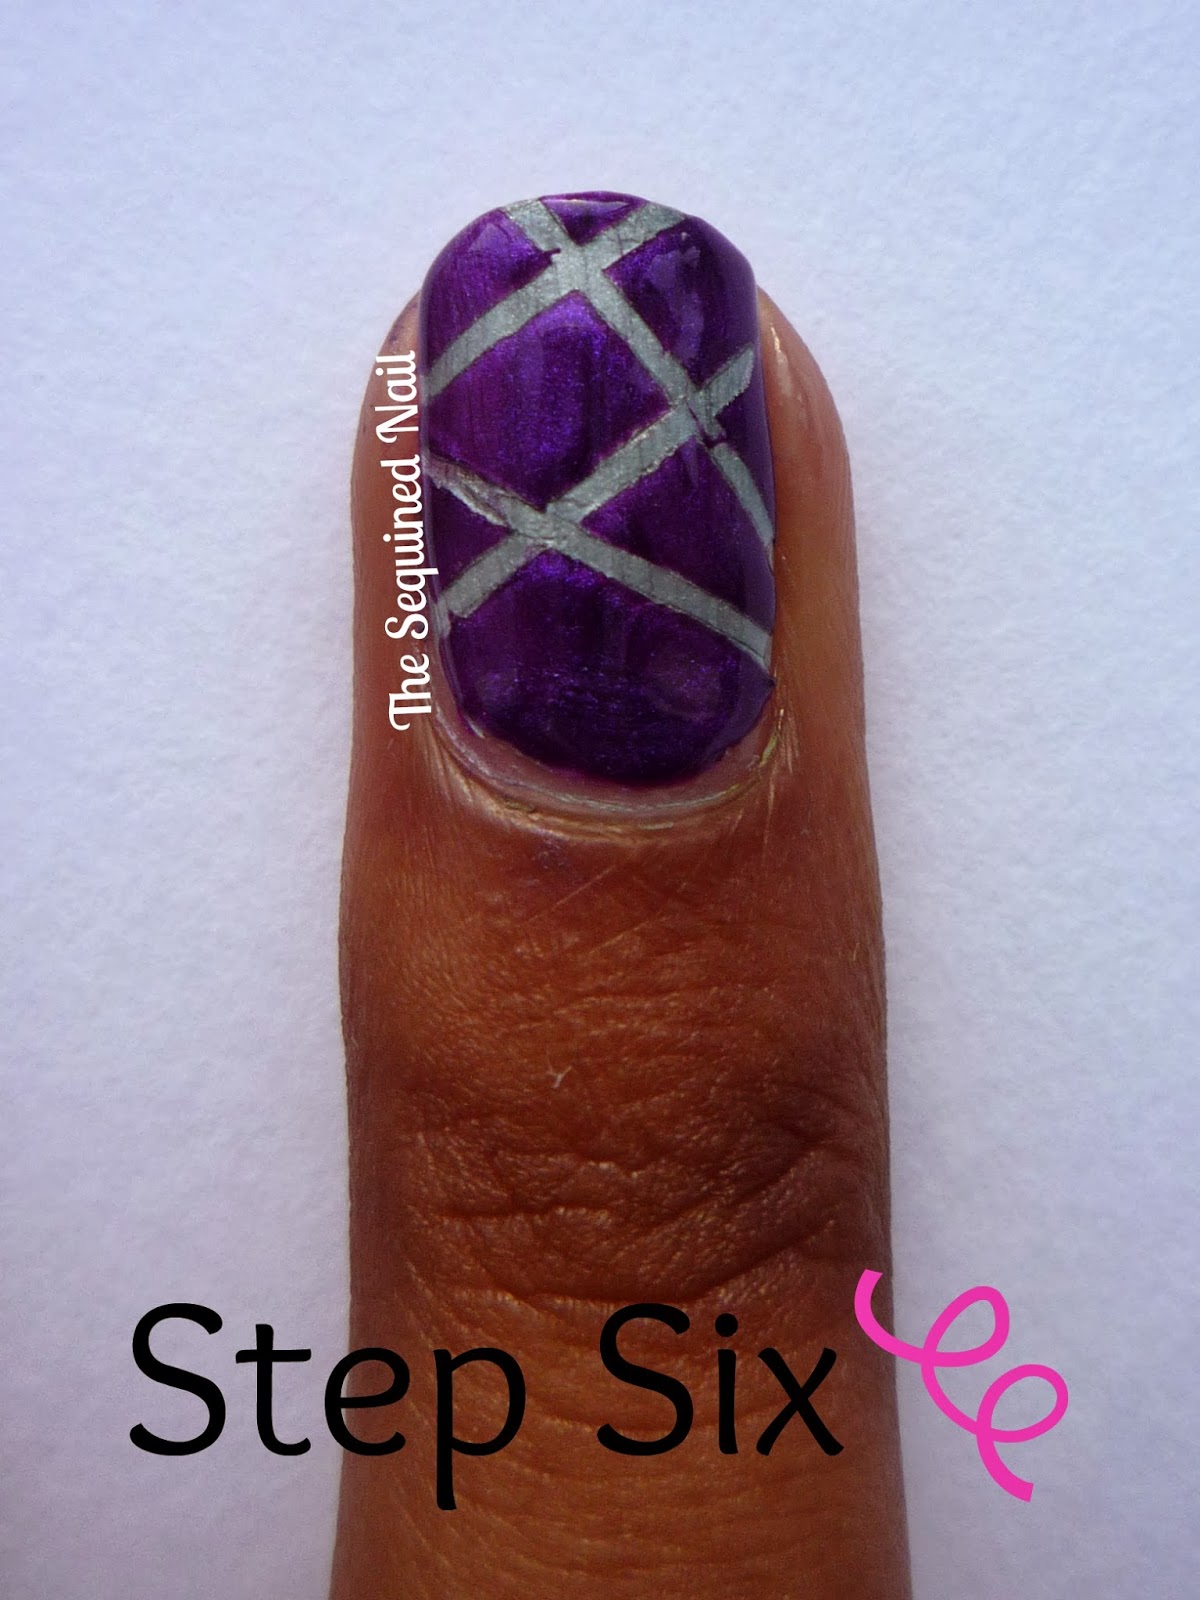
Wait for your design to try and then add a topcoat. You can clean up your design after using a brush dipped in acetone or my personal preference, Barry M Nail Polish Corrector.
Here is a round up of all the steps:

Hopefully this tutorial was useful!
Let me know what you think.
To view the rest of my tutorials from this week, click here.
Please let me know if you try out this design - I can't wait to see you all try it!
Jayna
:)
To view the rest of my tutorials from this week, click here.
Please let me know if you try out this design - I can't wait to see you all try it!
Jayna
:)
Oooooh, very nice! They look great.
ReplyDeleteThank you! :)
DeleteThese Nails look soo great! well done
ReplyDeletexx Julia
Thank you! :)
Deleteloving all the tutorials!
ReplyDeleteThat is gorgeous! I really want to try it. Just have to figure out what colors to use...
ReplyDelete